Article Contents
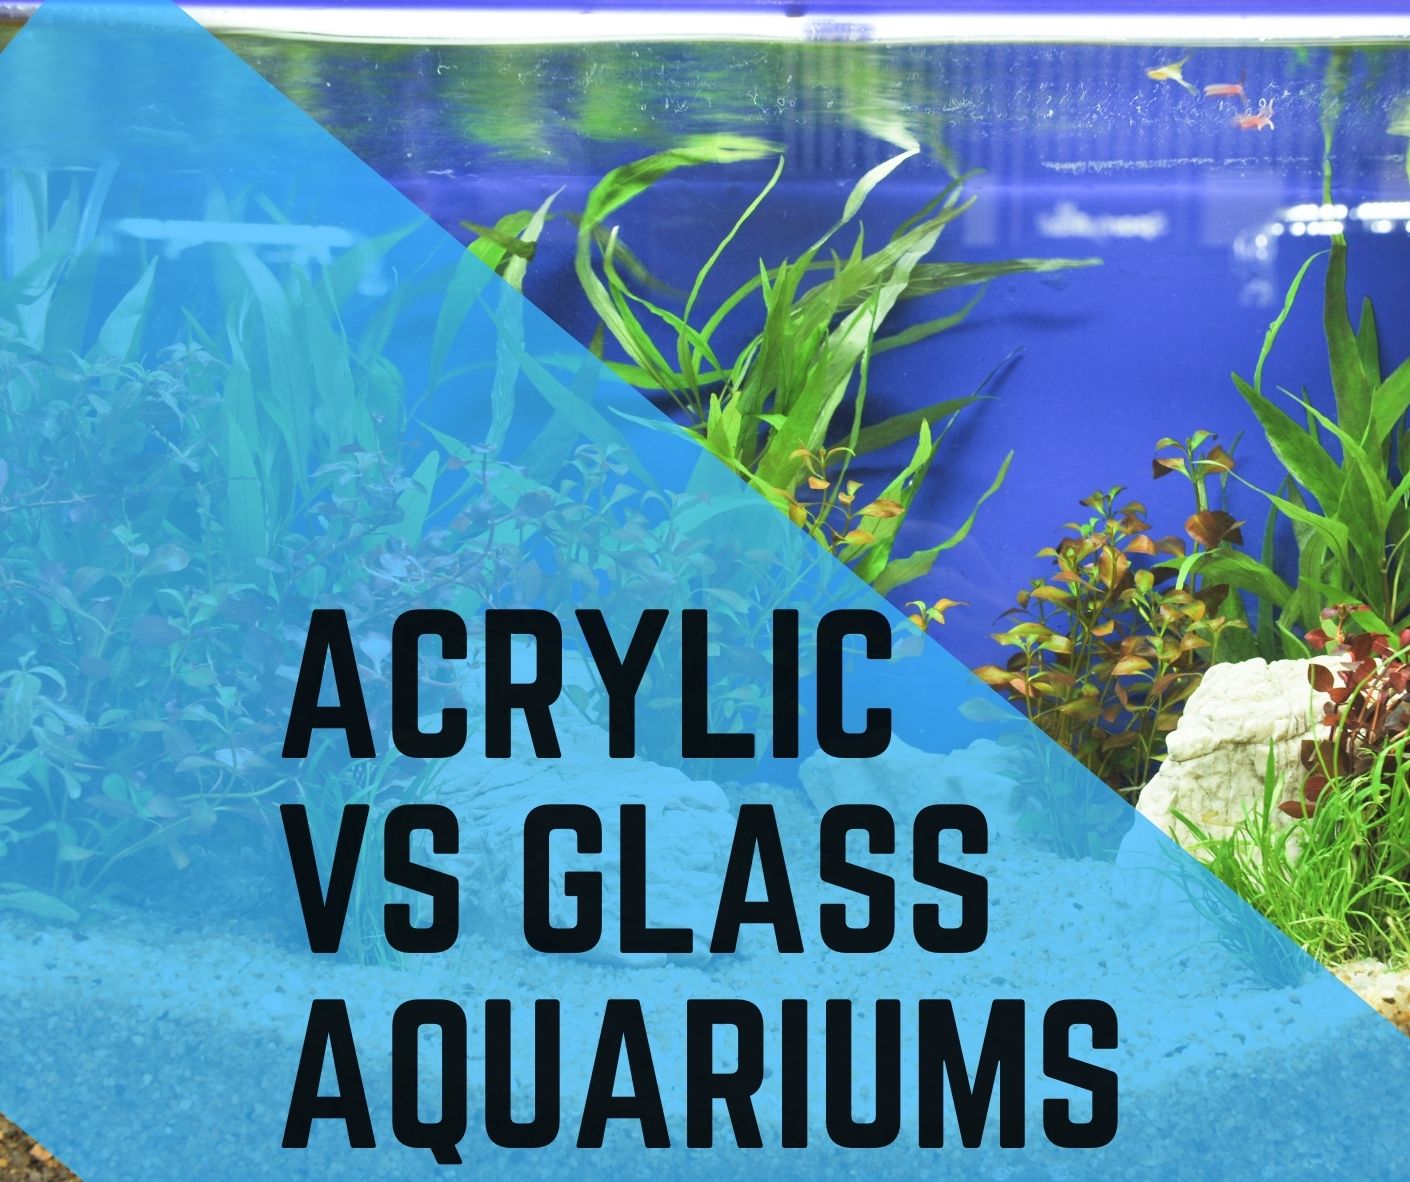
Acrylic Aquariums vs Glass Aquariums
With all the amazing aquatic creatures available today in the pet trade, both glass and acrylic aquariums have their advocates. So which type is right for you? In this article, we’ll explore the pros and cons of acrylic aquariums so that you can decide for yourself.
Acrylic Aquariums
Acrylic aquariums are becoming more and more popular as people learn about their environmental benefits. They’re also becoming less expensive, making them a great option for anyone looking to start their own aquarium collection. Here are some of the benefits of acrylic aquariums:
– Acrylic tanks are much lighter than glass tanks and can be easily moved around.
– Acrylic tanks do not require any special care or maintenance, making them a great choice for beginner aquarists.
– Mostly, Acrylic tanks heat up and cool down just like glass tanks, so they’re perfect for tropical fish and other types of tropical aquariums.
– Acrylic tanks can be decorated in many different ways, giving you plenty of flexibility when choosing a setup for your aquarium.
Glass Aquariums
Glass aquariums are often seen as the premium option for aquariums because of their durability and natural appearance. They also have a wide variety of colors and styles to choose from, making them perfect for any décor.
However, acrylic aquariums can also be very beautiful and durable, and they are available in many different colors and styles as well.
If you’re looking for an eco-friendly option, acrylic aquariums may be a better choice than glass ones. Glass is made from various types of materials that can end up polluting our environment, while acrylic doesn’t produce any waste products when it’s broken or damaged.
Additionally, acrylic tanks can hold more water than glass ones, so they can accommodate larger fish or even a whole community of tropical fish.
Which Aquarium Material is Best for You?
Acrylic aquariums are becoming more popular than ever before and for good reason. They are incredibly durable, easy to clean, and come in a variety of colors and styles. However, if you’re thinking of getting an acrylic aquarium, there are a few things you should keep in mind.
First of all, acrylic is a type of plastic and as such is not as environmentally friendly as glass. Acrylic tanks can also be less expensive than glass tanks, but this isn’t always the case. Glass tanks require very little maintenance – they just need to be cleaned occasionally with a bar of mild soap and water – while acrylic tanks can require more care.
If you’re only planning on keeping one or two fish in an acrylic tank, the glass may be the better option. However, if you have plans to grow your aquarium collection or want to keep larger fish (like corals), an acrylic tank is likely the best choice.
In addition to being easier to clean, acrylic tanks also heat up much faster than glass tanks, which can be helpful if you live in a cold climate. So which Aquarium Material is best for you? It really depends on your needs and preferences.
Advantages of Glass Tank Aquariums:
- Harder to scratch
- Cheaper and easily available
- Available in industry-standard sizes
- Easier to clean
- Ridged panels
- Won’t turn yellow and brittle over time
- Non-porous hence doesn’t allow chemicals to pass or absorb
- Visible distortion is less
- We can engineer glass flaws
Disadvantages of Glass Tank Aquariums:
- Comparatively heavy
- Less limited shapes
- Difficult Fabrication
- Won’t hold the temperature
- Non-Repairable once damaged
- Fragile (chips and cracks easily)
- We cannot engineer acrylic flaws
Advantages of acrylic tank Aquariums:
- Very clear in texture
- Lightweight
- Less limited shapes
- Easy to drill for fittings
- Easy to repair, polish, or refinish
- Less likely of damage from impact
- Easy to fabricate
- Acrylic is easy to mold, hence available in a huge array of shapes.
Disadvantages of Acrylic tank Aquariums:
- Prone to fabrication flaws
- Turns yellow over time
- Porous hence absorbs chemicals
- Visual distortion is higher
- Costly as compared to glass
Making an Acrylic Aquarium DIY Complete Guide
An acrylic aquarium is a symbol of beauty inside the home or leisure area.
Now, most modern aquariums are made of high-quality acrylics and they are indeed stunning to watch.
Making such an acrylic aquarium is a bit tricky but an enjoyable DIY (do it yourself) task.
So building an acrylic aquarium is easier and can fulfill your dream of a neat planted, reef, or freshwater aquarium that lasts for a very long time.
Also, you can earn a handsome amount by selling professionally finished acrylic aquariums.
- Basic Steps for Creating the Acrylic Tank
- Custom Cutting Acrylic
- Preparing the Edges Gluing Acrylic Sheets
- Repairing Acrylic Aquarium Leaks
- Polishing Acrylic Sheets
One of the satisfying activities you do in an aquarium and fish-keeping hobby is building an aquarium of your own.
At first, this seems like very tedious work to many but from my experience, it is truly an easy and creative do it yourself task.
Also, you can earn money selling building acrylic aquariums because they are in good demand in the market.
In this video I will walk you through making an acrylic aquarium, I got small acrylic sheets with low thickness so I am making a small acrylic aquarium and using it as a quarantine tank but
the same methods apply to building larger acrylic aquarium as well. So follow along with this video and you may find something new.
To be clear building an acrylic aquarium is a bit costlier than making a glass aquarium but you can make many acrylic aquariums once you have the desired materials with you.
Also if you make the aquarium in a more spacious place like the workshop or garage then it will help you make it much faster.
All required tools and materials are provided in the video description for you to purchase
For making an acrylic aquarium you will need the following:
I recommend Acrylic Sheets of thickness 10mm and more.
If you are making an aquarium of 70 gallons or more use a 15 mm or thicker acrylic sheet.
Then you need Acrylic glue use Weldon 4 or Weldon 3 types available on the market.
Glues are costly but they can be used for making many Acrylic aquariums from a bottle.
If your aquarium Suffers from leakage after construction; Purchasing a Weldon 16 Glue comes in handy.
Next, you will need about 4 to 5 clamps to hold the edges together. and A Map gas torch for flame polishing
If you are cutting the acrylic sheet yourself and not buying a custom-cut sheet from the shop then you may need the following tools
An Acrylic cutting saw tooth with more sharp teeth or Jigsaw or the Circular saw.
Acrylic edge scrapper and Sanding Paper 30 grit, 60 grit, and 120 grit
You can use the cutting saw or jig saw or circular saw to cut the acrylic sheet to desired dimensions.
You must be careful about the side acrylic sheets for the aquarium as told earlier for the glass aquarium.
The edges of cut out acrylic sheet need to be polished using a router or buffing wheel which we usually don’t have,
In that case, you can use sanding paper starting from lower grit to higher grit is 30 grit to 120 grit.
Once you notice that the edges to be glued are devoid and flat leveled you can start gluing the acrylic sheets.
The Weldon 4 or 3 glue used here is watery and sets within 1 minute there is a table on the glue which states that.
Now as compared to it weld on 16 allows you to readjust the sheets like in the case of silicone glue.
Now if you are using Weldon-4 or Weldon-3 I will tell you how to take the glue and pour it into the hypo applicator.
Open and pour the liquid water glue into the hypo applicator and fill up to less than one-half of the hypo applicator.
Don’t pour extra liquid as extra one can spill on the acrylic sheet and leave white patches, making it look dirty.
You can clean them as well using plastic cleaning and polishing solution like Novus 1,2 and 3.
Once, you pour the recommended amount close the lid of the glue tightly and store it in some cool place for later use.
To start gluing the surfaces first take the bottom sheet and lay it flat on the table or surface you are working on.
Put the side sheet on the edge surface of the bottom sheet, also use a clamp to hold the arrangement in place.
Now take the hypo applicator squeeze some air out of it and invert the applicator to allow air passage.
Place the needle close to contacting edges of the sheets and gently press the applicator to release the glue between the contacting surfaces.
When you see a uniform wetting through the acrylic sheet edges, run along the edge squeezing the liquid glue.
Now after 1 to 3 minutes the edges are glued so before that you can arrange the edge and sheet, however, it takes 24 to 48 hours to reach max strength
Items used in construction:
To buy the products for making a professional finish acrylic aquarium check links below:
IPS Weld-On 3 Acrylic Glue-Cement
SCIGRIP 16 Acrylic Cement:
NOVUS 3 Set Plastic Polish:
Fine Edge Scraper:
Quick-Grip Clamps:
Jigsaw Cutting Tool:
Map Refillable Gas Torch:
Conclusion
Aquariums come in all shapes and sizes, but which is the best type of aquarium for you? Acrylic or glass? The answer is a little bit complicated, but ultimately it comes down to personal preference. If you are looking for an aquarium that will look good in any room of your home, acrylic may be the better option for you.
Acrylic aquariums are also cheaper than glass tanks, and they can be easily installed without any special skills or tools. On the other hand, if you want an aquarium that will show off your aquatic specimens in their finest light and color, a glass tank may be better suited for you. Ultimately, it is up to you to decide which type of aquarium best suits your needs and personality.
We're an affiliate! When you purchase something through my affiliate links, I earn a small commission.Thankyou if you use them.